Table of Contents
Pizza Dough Recipe, a beloved dish worldwide, has its heart in the dough. A perfect pizza dough is the canvas on which all classic and innovative pizza toppings rest. This article aims to guide you through the process of making the perfect pizza dough, with tips and insights into each step.

Understanding the Basics
Before diving into the recipe, it’s important to understand what makes a great pizza dough. The key components are flour, water, yeast, salt, and often a bit of oil. The type of flour used can vary, but a high-protein bread flour is typically recommended for its ability to create a chewy, crisp crust. The yeast, either active dry or instant, is crucial for fermentation, which gives the dough its rise and flavor. Salt adds taste and controls yeast activity, while oil adds richness and helps in browning.
Ingredients
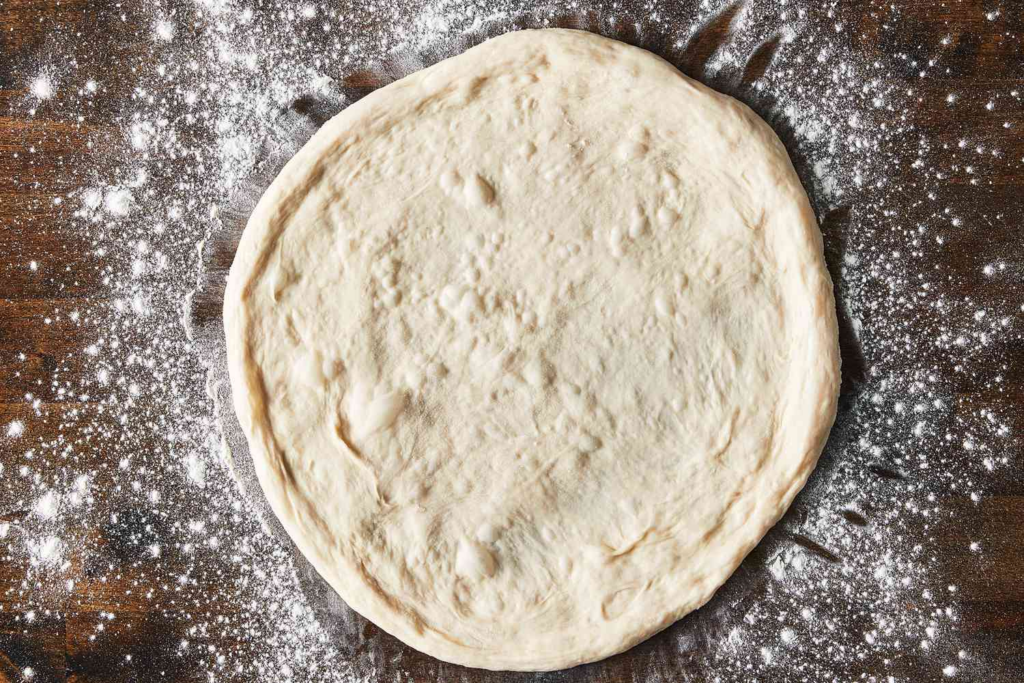
- 4 cups bread flour (or all-purpose flour)
- 1 ½ cups warm water (around 110°F)
- 2 ¼ teaspoons active dry yeast (1 packet)
- 2 teaspoons sugar
- 2 teaspoons salt
- 2 tablespoons olive oil
Equipment Needed to Pizza Dough Recipe
- Large mixing bowl
- Kitchen scale (optional, for precise measurement)
- Dough scraper
- Plastic wrap or a clean kitchen towel
- Rolling pin (optional)
Step 1: Preparing the Yeast
Start by activating the yeast. In a small bowl, combine the warm water and sugar, stirring until the sugar dissolves. Sprinkle the yeast over the water and let it sit for about 5 minutes, until it becomes foamy. This step is crucial as it ensures that the yeast is alive and ready to work.
Step 2: Mixing the Dough
In a large bowl, combine the flour and salt. Once the yeast is ready, add it to the flour mixture along with the olive oil. Mix until a rough dough forms. If using a stand mixer, use the dough hook attachment and mix on a low setting for about 5 minutes.
Step 3: Kneading
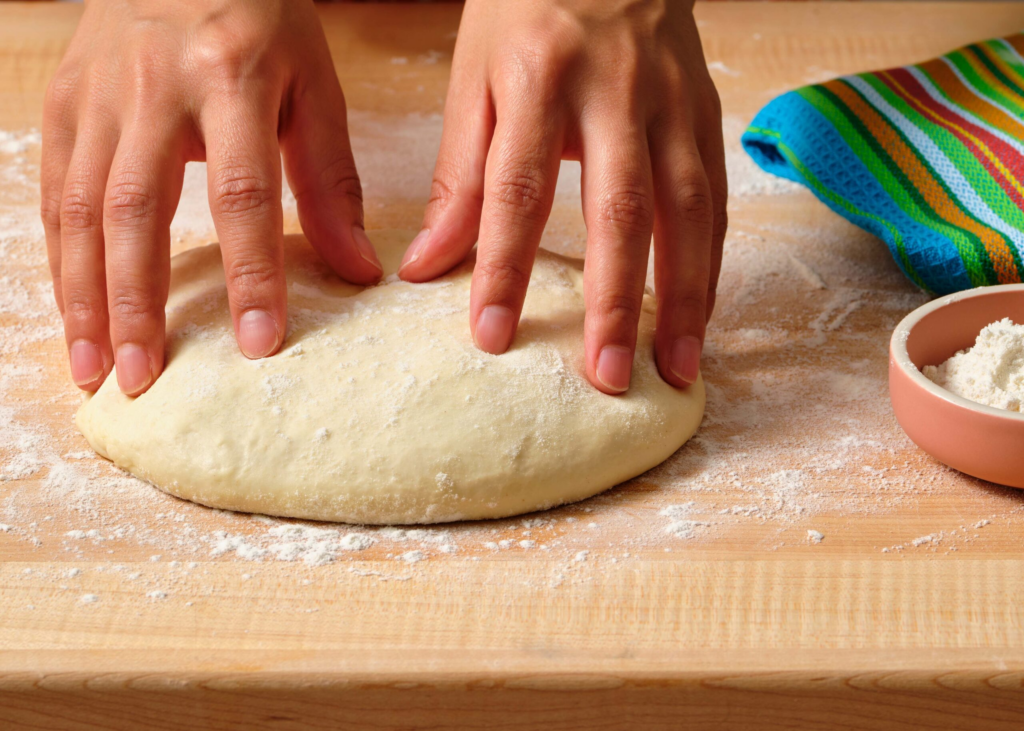
Turn the dough onto a lightly floured surface and knead by hand for about 10 minutes. The dough should be smooth, elastic, and slightly tacky. If the dough is too sticky, add a little more flour; if it’s too dry, add a few drops of water. Proper kneading develops gluten, which gives the dough its structure and chewiness.
Step 4: First Rise
Place the dough in a lightly oiled bowl, turning it to coat all sides with oil. Cover the bowl with plastic wrap or a clean kitchen towel. Let the dough rise in a warm, draft-free area for about 1-2 hours, or until it doubles in size. This process, known as proofing, allows the dough to develop flavor and texture.
Step 5: Punching Down and Shaping
After the first rise, punch down the dough to release any air bubbles. Turn it out onto a lightly floured surface. Divide the dough into 2 or 4 equal portions, depending on the size of pizzas you desire. Shape each portion into a smooth, tight ball. This is crucial for a uniform crust.

Step 6: Second Rise
Place the dough balls on a floured surface or a tray, leaving enough space between them to expand. Cover them with a damp cloth or plastic wrap, and let them rise for another 30 minutes to an hour. This second rise makes the dough puffier and easier to shape.
Step 7: Shaping the Pizza
Preheat your oven to its highest setting, typically between 450°F and 500°F. If you have a pizza stone, place it in the oven to heat up as well.
Take one ball of dough and gently flatten it into a disc using your hands. You can use a rolling pin, but hand-stretching is recommended for a lighter, airier crust. Work from the center outwards, rotating the dough as you go. Leave the edges slightly thicker to form the crust.

Step 8: Topping and Baking
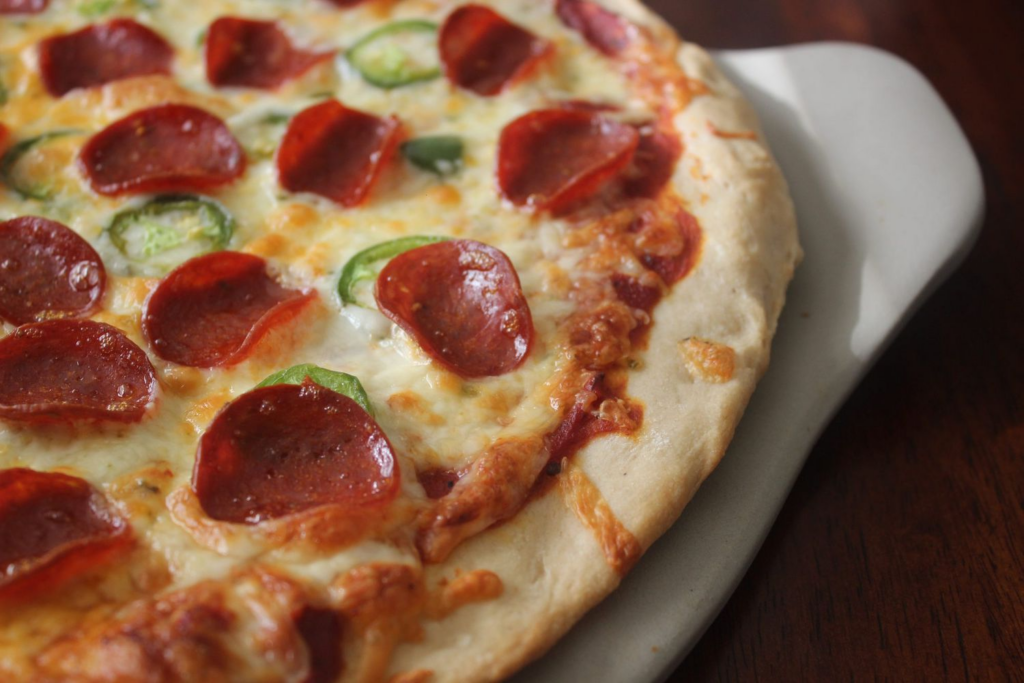
Place the stretched dough onto a pizza peel or an inverted baking sheet dusted with flour. Add your desired toppings, but be careful not to overload the pizza, as this can make it soggy.
Transfer the pizza to the hot pizza stone or baking sheet in the oven. Bake for 10-15 minutes, or until the crust is golden and the cheese is bubbly.
Tips for Success
- Temperature Control: The temperature of the water used to activate the yeast is critical. Too hot, and it will kill the yeast; too cold, and it won’t activate.
- Fermentation Time: Longer fermentation at a cooler temperature (like in the refrigerator overnight) can develop more complex flavors in the dough.
- Hydration Ratio: Adjusting the amount of water can change the dough’s texture. A higher hydration leads to a lighter, airier crust.
- Experiment with Flours: Beyond bread flour, experimenting with whole wheat, spelt, or even gluten-free alternatives can yield interesting flavors and textures.
- Practice Makes Perfect: The more you make pizza dough, the better you’ll understand its feel and behavior, allowing you to make adjustments as needed.
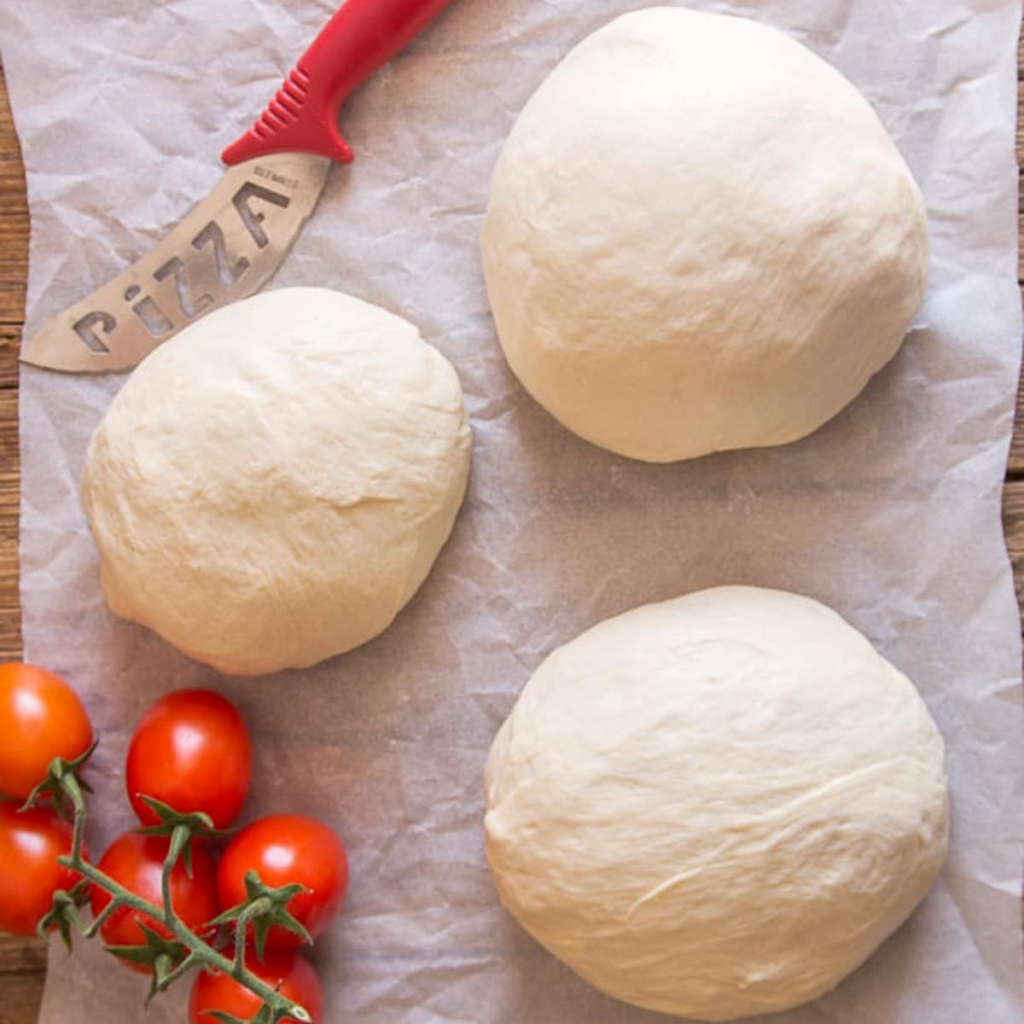
The Pizza Dough Recipe is so Delicious! Making pizza dough from scratch is a rewarding process that offers endless possibilities for customization. By understanding the basics and following these steps, you can create a perfect base for any type of pizza. Remember, practice is key to mastering the art of pizza dough. Enjoy the process, experiment with different toppings, and most importantly, share your delicious creations with friends and family.
Follow us to see more useful information, as well as to give us more motivation to update more useful information for you.


