Table of Contents
Deviled eggs recipe, a classic appetizer, have graced tables for decades, evolving from simple, mayonnaise-filled delights to culinary canvases for a variety of flavors and toppings. In this article, we’ll explore the basics of making deviled eggs, including a classic recipe and tips for variations that can suit any taste or occasion.

Understanding the Basics
Deviled eggs are hard-boiled eggs where the yolks are removed, mixed with other ingredients, and then piped back into the white halves. The key to excellent deviled eggs lies in perfectly boiling the eggs, creating a smooth, flavorful filling, and presenting them attractively.
Ingredients for Classic Deviled Eggs recipe
- 12 large eggs
- 1/2 cup mayonnaise
- 2 teaspoons Dijon mustard
- 1 teaspoon white vinegar
- Salt and pepper, to taste
- Paprika, for garnish
- Fresh parsley or chives, for garnish (optional)
Equipment Needed
- Pot for boiling eggs
- Bowl for ice water
- Small mixing bowl
- Piping bag or spoon
- Serving platter

Step 1: Perfectly Boiling the Eggs
Place the eggs in a large pot and cover them with cold water by about an inch. Bring the water to a boil over medium-high heat. Once boiling, cover the pot, remove it from the heat, and let it stand for 12 minutes. This method helps prevent overcooking and the formation of a green ring around the yolks.
After 12 minutes, transfer the eggs to a bowl of ice water. This stops the cooking process and makes peeling easier. Let them cool for about 5 minutes.
Step 2: Preparing the Eggs
Carefully peel the eggs and slice them in half lengthwise. Gently remove the yolks and place them in a small mixing bowl. Set the egg white halves on a serving platter.

Step 3: Making the Filling
Mash the yolks with a fork until they are crumbled finely. Add the mayonnaise, Dijon mustard, and white vinegar to the yolks. Mix until smooth and creamy. Season with salt and pepper to taste. The key is to achieve a creamy, smooth consistency without being too runny or too stiff.
Step 4: Filling the Egg Whites
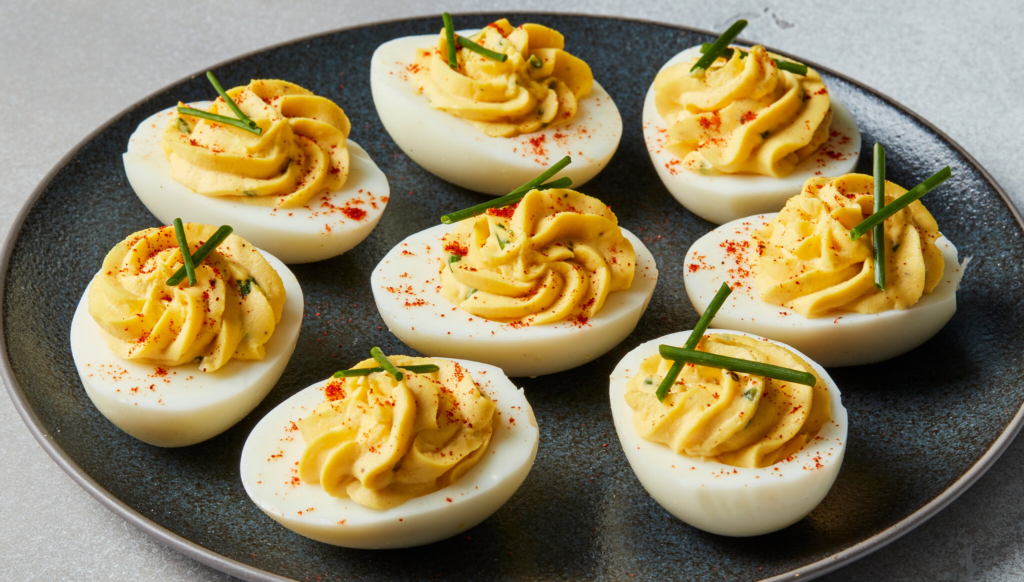
Transfer the yolk mixture to a piping bag fitted with a star nozzle for a fancy presentation. If you don’t have a piping bag, a spoon or a plastic bag with a corner cut off will do. Pipe the mixture back into the cavities of the egg white halves. Be generous but also ensure the mixture is evenly distributed among all the egg halves.

Step 5: Garnishing and Serving
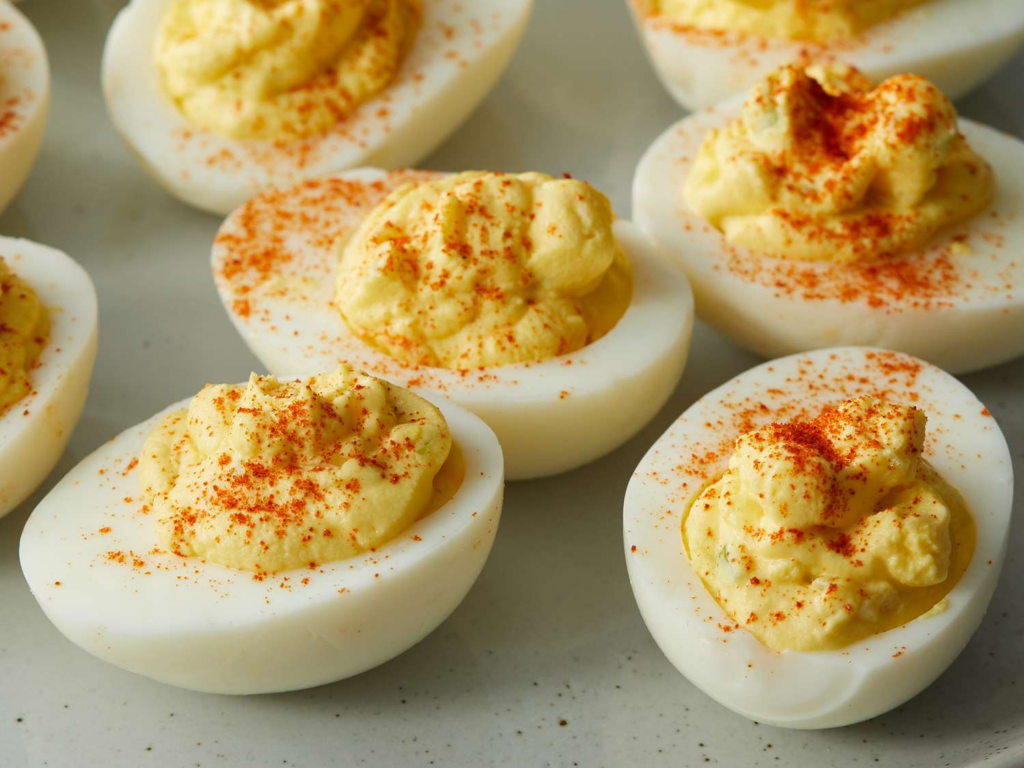
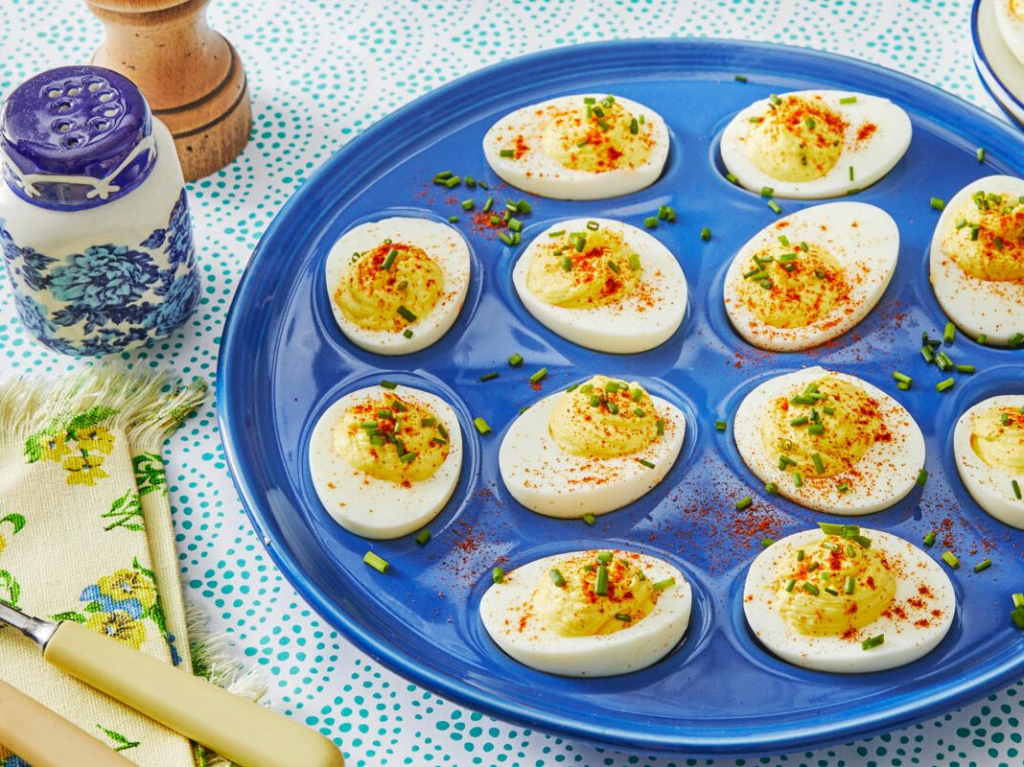
Sprinkle each deviled egg with a bit of paprika. This not only adds a subtle flavor but also gives a vibrant color contrast. You can also top them with a small sprig of parsley or some chopped chives for a fresh, herby note. Arrange the deviled eggs on a platter and they’re ready to serve.
Tips for Success
- Freshness of Eggs: Surprisingly, fresher isn’t always better. Slightly older eggs (about a week old) are often easier to peel.
- Flavor Variations: Feel free to experiment with additional ingredients like bacon bits, shredded cheese, hot sauce, horseradish, or even finely chopped pickles for a tangy twist.
- Filling Consistency: If the filling is too thick, you can thin it with a little milk or sour cream. If it’s too thin, more mashed yolks or a bit more mayonnaise can help thicken it.
- Decorative Tips: Use a piping bag with different nozzles to create various patterns. This can turn your deviled eggs into a decorative centerpiece.
- Make Ahead: You can boil and peel the eggs a day in advance. Store the whites and yolks separately in the refrigerator.
- Storage: Deviled eggs are best eaten the day they are made, but you can store them in an airtight container in the refrigerator for up to two days.
- Healthy Alternatives: For a lighter version, substitute mayonnaise with Greek yogurt or avocado.

Deviled eggs recipe are a versatile and beloved dish that can be customized to fit any taste or occasion. Whether you stick to the classic recipe or get creative with your ingredients and garnishes, they are sure to be a hit at any gathering. Remember, the beauty of deviled eggs lies in their simplicity and the endless possibilities for customization. So, get creative, enjoy the process, and delight your guests with these little bites of heaven!
Follow us to see more useful information, as well as to give us more motivation to update more useful information for you.


