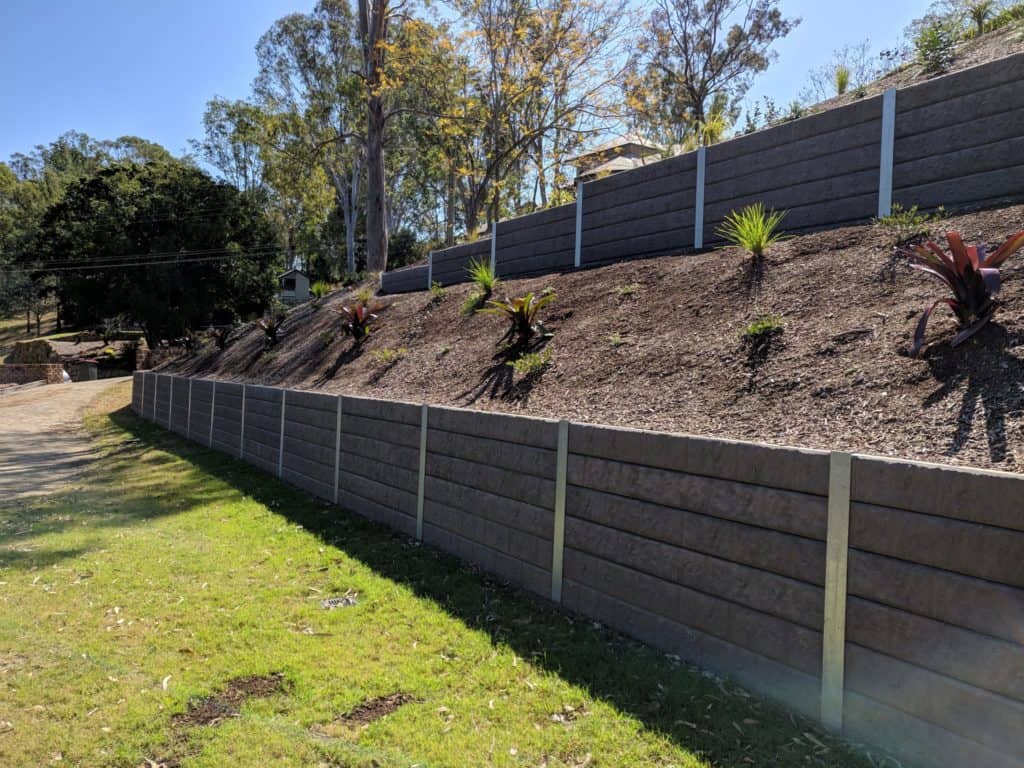
Hey there, fellow garden enthusiasts! I’m Emma, and today we’re diving deep into the world of retaining walls, specifically their drainage. A beautifully built retaining wall can be a stunning addition to your landscape, adding both functionality and visual appeal. But here’s the catch: even the most meticulously crafted wall can crumble without proper drainage.
Think of it like this: a retaining wall without proper drainage is like a house without a solid foundation – trouble waiting to happen! Excess water pressure can build up behind the wall, eventually leading to leaning, cracking, and even complete collapse. That’s why understanding and implementing effective drainage solutions is absolutely crucial for the longevity and stability of your retaining wall.
Why is Retaining Wall Drainage So Important?
Imagine this: heavy rainfall saturates the soil behind your retaining wall. Without an escape route, this water builds up, creating immense pressure. This hydrostatic pressure, as it’s called, can wreak havoc on your wall. We’re talking cracks, bulges, and in extreme cases, a total collapse.
Proper drainage, my friends, is the superhero that saves the day! It provides escape routes for this water buildup, relieving the pressure and keeping your wall standing strong and true.
 Factors Affecting Retaining Wall Drainage
Before we jump into the how-to, let’s consider the “where” and “what” that play a crucial role in determining the drainage needs of your retaining wall:
- Soil Type: Clay soil, notorious for its poor drainage, requires a more robust drainage system compared to sandy soil, which allows water to pass through more easily.
- Site Slope: A naturally sloped site aids water runoff, reducing the burden on your drainage system. However, a flat or inwardly sloping site demands a more comprehensive approach.
- Climate: Regions with heavy rainfall or frequent freeze-thaw cycles necessitate more aggressive drainage solutions to handle the increased water volume and potential frost heave.

Step-by-Step Guide to Building a Retaining Wall with Excellent Drainage
Ready to roll up your sleeves? Let’s build a retaining wall that can withstand the test of time and the wrath of Mother Nature!
1. Laying the Foundation: The Footing Drain
A sturdy house needs a solid foundation, and your retaining wall is no different. This is where the footing drain comes in. This crucial element, installed at the base of your wall, acts as the first line of defense against water buildup.
- How it Works: A perforated pipe, nestled within a bed of gravel at the base of your wall, intercepts water seeping from behind the wall and safely channels it away through a designated outlet.
- Pro Tip: Always “daylight” your footing drain. This means ensuring the outlet pipe extends to a point where water can freely discharge, preventing any backups.
2. Choosing the Right Pipe: Perforated vs. Solid
Not all pipes are created equal when it comes to retaining wall drainage. Here’s a quick breakdown:
- Perforated Pipe: The workhorse of your drainage system, perforated pipe, with its strategically placed holes, is ideal for capturing and redirecting water from beneath and behind the wall.
- Solid Pipe: This type shines in carrying the collected water from the perforated pipes to the designated discharge point, ensuring a smooth and efficient flow.
3. Gravel: The Unsung Hero of Drainage
Never underestimate the power of gravel! This humble material plays a vital role in ensuring the long-term success of your retaining wall drainage system.
- Why Gravel Matters: Angular gravel, with its irregular shape, creates voids that allow water to flow freely. It also provides crucial support to the wall and prevents soil from clogging the drainage pipes.
- Golden Rule: When it comes to gravel backfill, more is always better. Aim for a minimum of 12 inches, but don’t hesitate to go thicker for enhanced drainage and structural integrity.
4. Filter Fabric: Keeping Things Clean and Clear
Imagine this: your drainage system is in place, water is flowing freely, and then bam! It gets clogged with soil and debris. That’s where filter fabric swoops in to save the day.
- The Guardian of Your Drainage: This permeable fabric acts as a barrier between the soil and gravel, preventing soil particles from infiltrating and clogging the gravel bed and drainage pipes.
- Placement is Key: Use filter fabric generously, sandwiching it between the gravel and soil wherever they meet. This includes under the wall’s gravel footing, around the footing drain, and behind the retaining wall.
5. Weep Holes: Giving Water an Escape Route
No, your retaining wall doesn’t need to cry, but it does need weep holes! These small openings, strategically placed along the wall’s base, are essential for relieving hydrostatic pressure.
- How They Work: Weep holes provide escape routes for water seeping through the wall, preventing it from building up and causing damage.
- Size and Spacing: The size and spacing of weep holes depend on the wall’s height and the site conditions. A good rule of thumb is 3- to 4-inch diameter holes every 3 to 4 feet for larger walls and 1-1/2 inch diameter holes every 8 feet for smaller ones.
6. Compacting the Soil: A Counterintuitive but Crucial Step
You might be thinking, “Wait, compacting the soil? Doesn’t that hinder drainage?” While it may seem counterintuitive, compacting the soil behind your retaining wall is vital for minimizing water infiltration and reducing hydrostatic pressure.
- The Science Behind It: Compacted soil becomes less permeable, making it harder for water to seep through and build up behind the wall.
- Proper Compaction: Use a hand tamper for smaller areas, working in 1- to 2-inch layers. For larger areas, a gas-powered plate compactor is your best bet, compacting in 6-inch layers.
7. Ensuring Proper Slope: Guiding Water Away
Even with a stellar drainage system in place, your work isn’t done until you ensure proper slope.
- The Importance of Slope: The soil on the outward-facing side of your retaining wall should slope away from the wall. This encourages water to flow away from the structure, preventing pooling and potential damage.
- Creating Slope: Add or remove soil as needed to achieve a gentle slope away from the wall. Aim for a minimum slope of 2% for effective drainage.

Additional Drainage Solutions
Sometimes, your retaining wall needs an extra helping hand when it comes to drainage. Here are a couple of additional solutions:
- French Drains: These trenches filled with gravel and a perforated pipe are champions at intercepting and redirecting subsurface water, making them a valuable addition to your drainage arsenal.
- Dry Wells: These underground structures collect excess water and allow it to slowly percolate back into the ground, providing a discreet and efficient drainage solution.
Maintaining Your Retaining Wall Drainage System
Congratulations, you’ve built a retaining wall with a drainage system that would make any engineer proud! But your work isn’t over just yet. Regular maintenance is key to ensuring its long-term performance.
- Inspection is Key: Regularly inspect your retaining wall and its drainage system, especially after heavy rainfall. Look for any signs of erosion, clogging, or displacement.
- Clear Out Debris: Remove any leaves, debris, or plant material that may be obstructing weep holes, drainage pipes, or the gravel bed.
- Address Issues Promptly: Don’t ignore any signs of drainage problems. Addressing issues early on can prevent more significant and costly damage down the road.
Resources for Further Learning
Want to delve even deeper into the world of retaining wall drainage? Here are some excellent resources:
- The Family Handyman: This website is a treasure trove of DIY information, including articles and videos on various aspects of retaining wall construction and drainage. https://www.familyhandyman.com/
- This Old House: Another fantastic resource for homeowners, This Old House offers a wealth of information on home improvement projects, including retaining walls. https://www.thisoldhouse.com/
- Your Local Building Department: Your local building department can provide valuable insights into building codes and regulations specific to your area, ensuring your retaining wall project is up to code.
Conclusion: Building a Retaining Wall That Stands the Test of Time
Building a retaining wall is an investment in your property’s beauty and functionality. By incorporating proper drainage techniques, you’re ensuring that your investment stands strong for years to come. Remember, a well-drained retaining wall is a happy retaining wall!


